
Contact Form 7のラジオボタンって画像に出来る?
WordPressの定番お問い合わせフォームプラグインの『Contact Form 7』ですが、ラジオボタンを画像に変える事も出来ます。
画像ではなくCSSでデザインをカスタマイズする方法は以下の記事を参照下さい。
あわせて読みたい
-

【Contact Form 7】ラジオボタンのデザインをカスタマイズする方法
続きを見る
Contact Form 7の基本的な使い方については以下の記事を参照下さい。
あわせて読みたい
-

Contact Form 7の基本的な使い方【WordPressお問い合わせフォームの定番プラグイン】
続きを見る

じゅんぺいブログは、Web制作(コーディング・WordPress制作)の技術記事を中心に、約500記事公開しています。ぜひ他の記事も参考にしてみてください!
完全無料のプログラミングスクール『ZeroPlus Gate』
30日間でWeb制作を学べる無料のプログラミングスクールがこちら
いきなり数十万するプログラミングスクールは厳しい・・・という人のお試しに最適です。
現在は無料ですがいつ有料になるか分からないので、気になる方はお早めに👇
(有料になっていたらすいません🙇♂️)
(有料になっていたらすいません🙇♂️)
Contact Form7でラジオボタンを設置
まずはラジオボタンを作ってみます。
こちらは初期状態の画面で、今回は一番上にラジオボタンを設置してみます。
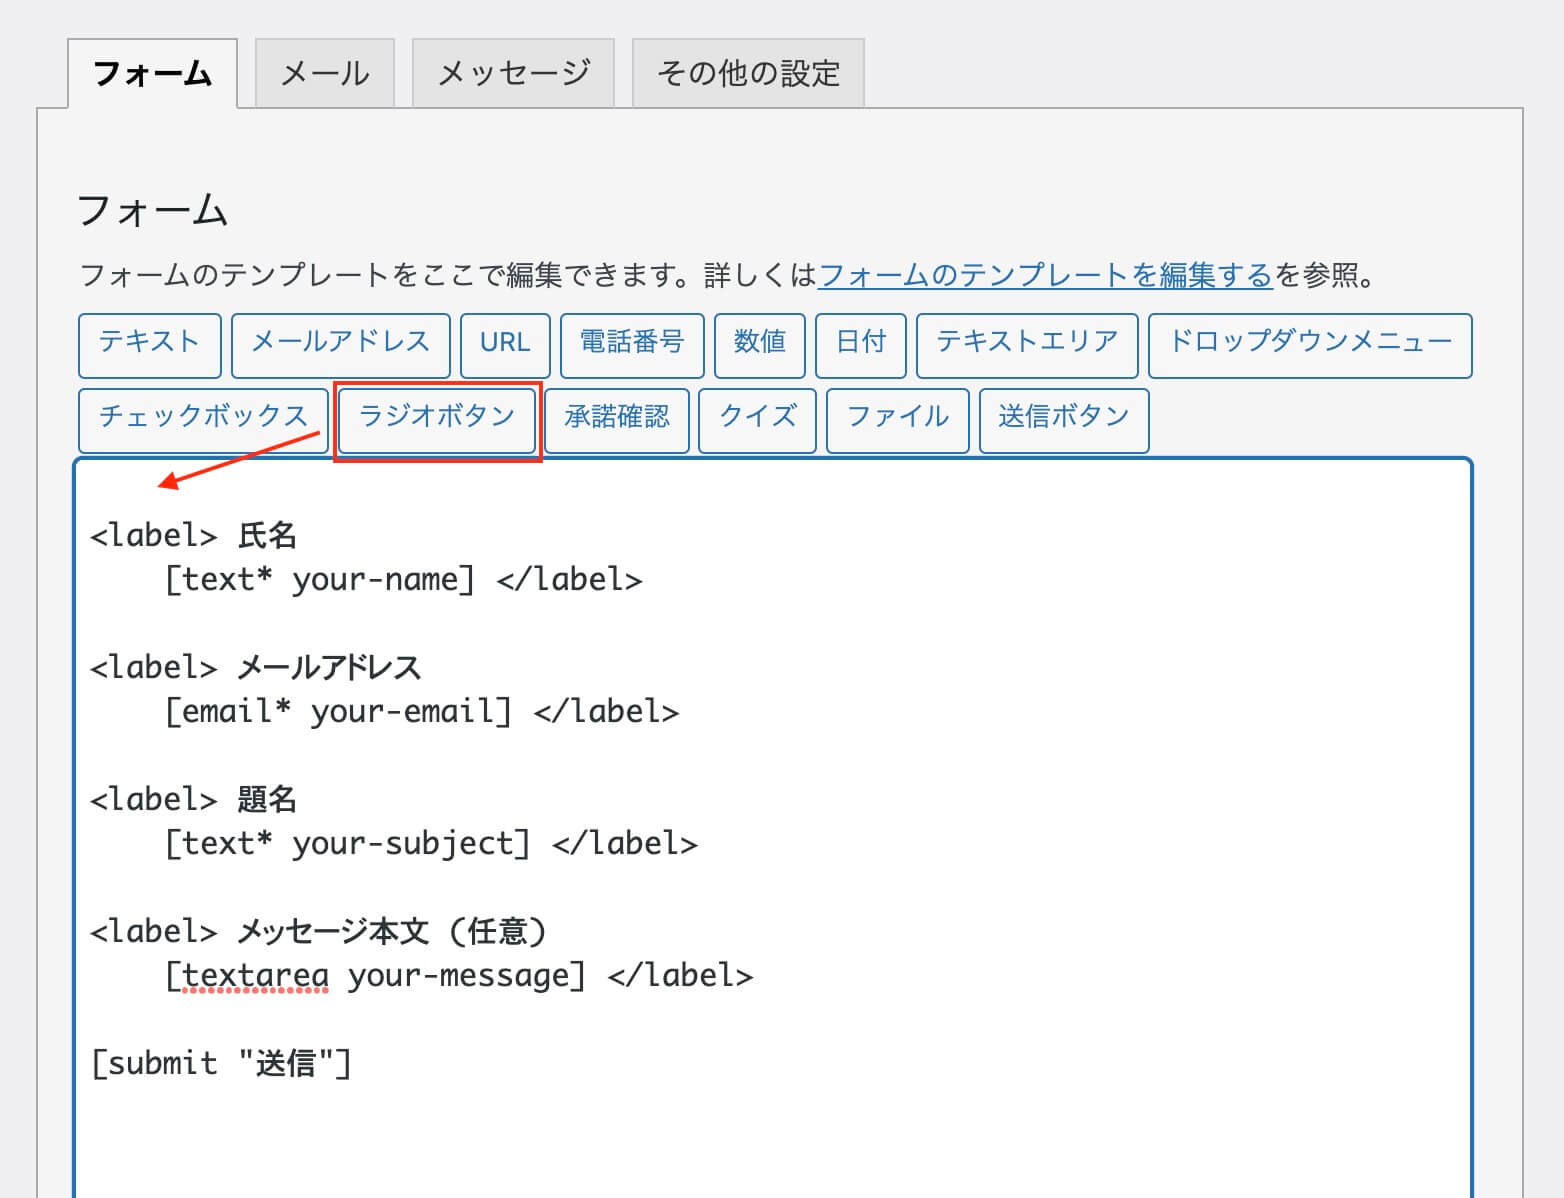
Contact Form 7:編集画面(ラジオボタン作成)
ラジオボタンをクリックするとこちらが表示されます。
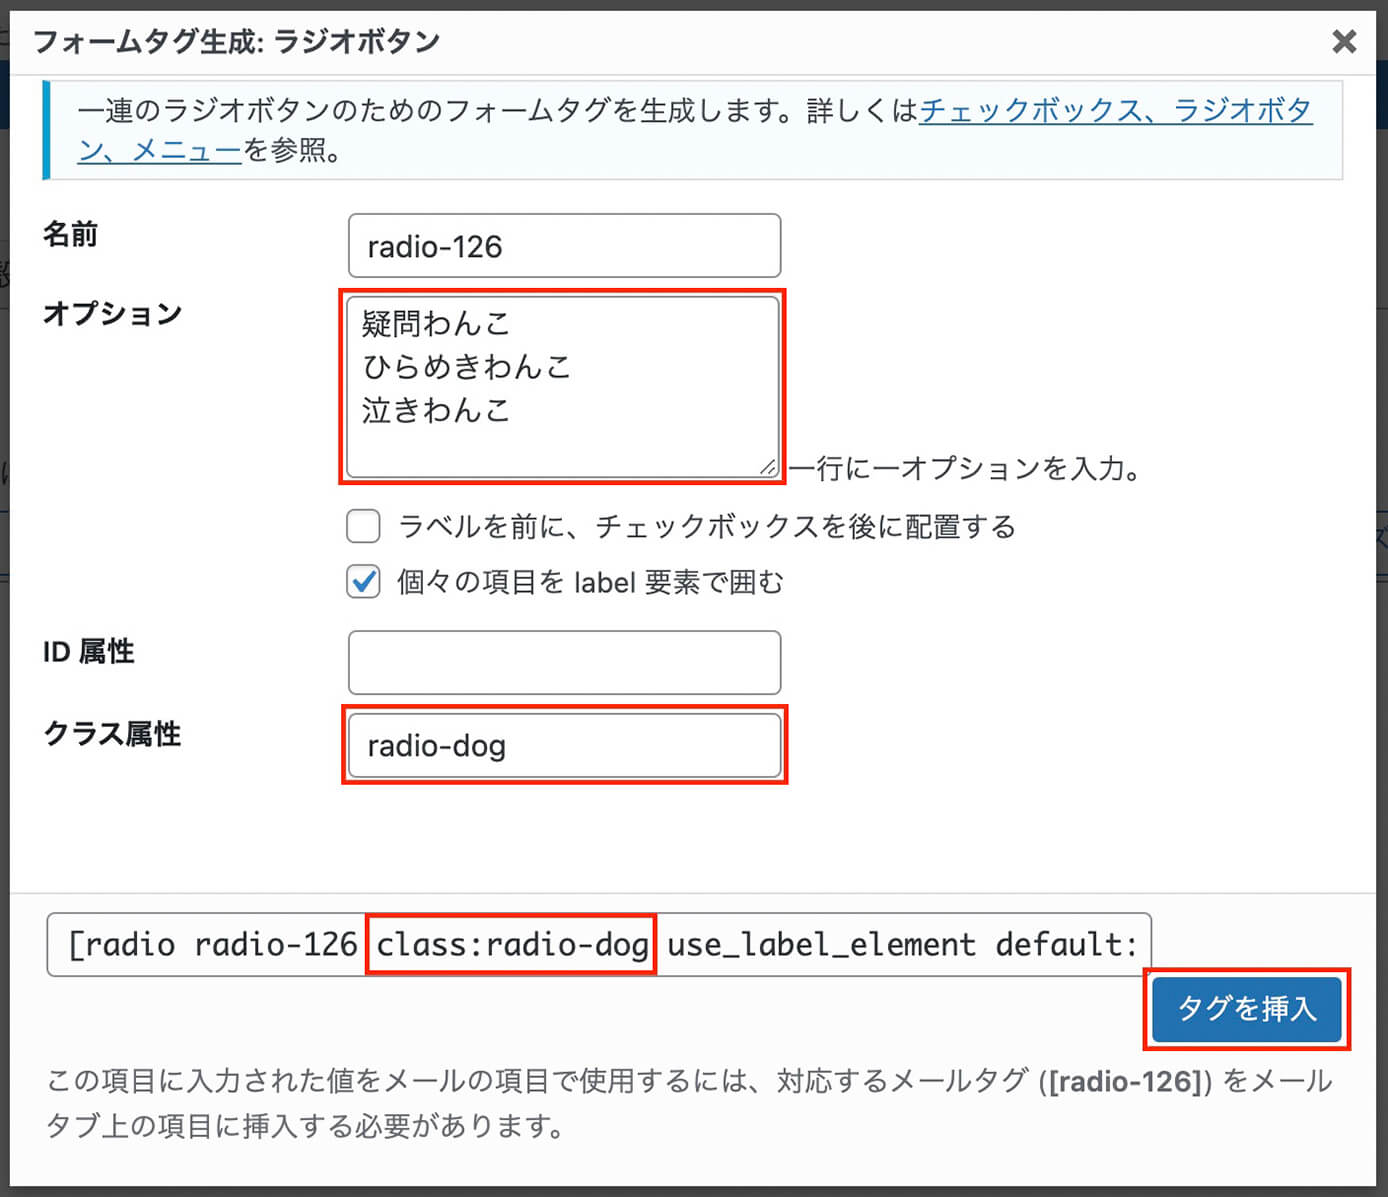
Contact Form 7:フォームタグ生成(ラジオボタン)
今回はclassを"radio-dog"と付けました。そして右下の『タグを挿入』をクリックします(class属性を入力すれば下の欄には自動でclassが挿入されます)
『個々の項目をlabel要素で囲む』はチェックが入ったままでOKです。
そしてこのようになっていれば設置完了です。
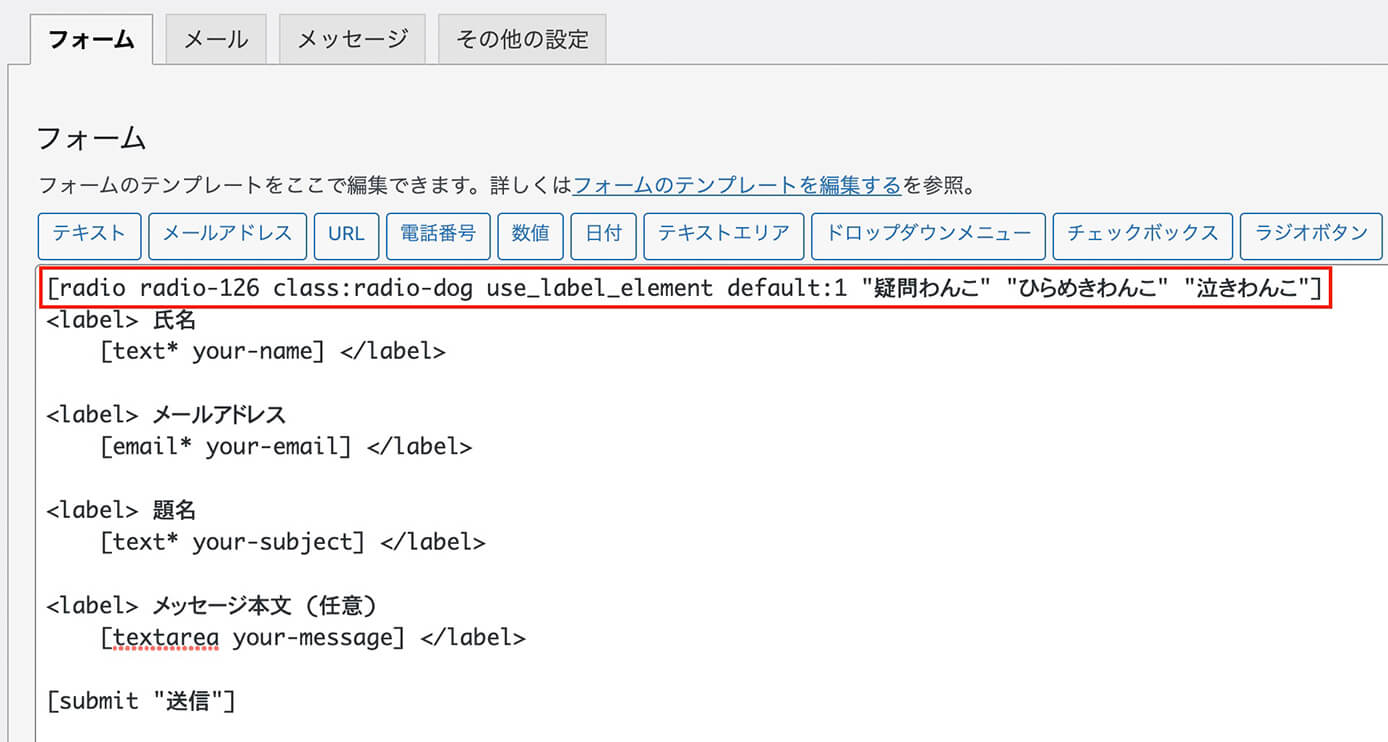
Contact Form 7:ラジオボタン作成完了
ラジオボタンのデザインを画像にカスタマイズ
まずはデフォルトのデザインを見てみましょう。

ラジオボタン(デフォルト)
テーマによってデザインは異なります(これはTwenty Twenty-One)
これを以下のようにしたいと思います。

ラジオボタン(画像に変更)
早速ですがコードはこちらになります。
.wpcf7-list-item.first {
  margin: 0;
}
.wpcf7-list-item-label {
  align-items: center;
  cursor: pointer;
  display: flex;
}
/* デフォルトのボタン */
input[type="radio"] {
  opacity: 0;
  position: absolute;
}
/* チェック前のボタン */
.radio-dog .wpcf7-list-item .wpcf7-list-item-label::before {
  background-repeat: no-repeat;
  background-size: contain;
  content: "";
  display: inline-block;
  height: 80px;
  width: 80px;
}
/* 1つ目のボタン */
.radio-dog .wpcf7-list-item:nth-of-type(1) .wpcf7-list-item-label::before {
  background-image: url(画像パス1);
}
/* 2つ目のボタン */
.radio-dog .wpcf7-list-item:nth-of-type(2) .wpcf7-list-item-label::before {
  background-image: url(画像パス2);
}
/* 3つ目のボタン */
.radio-dog .wpcf7-list-item:nth-of-type(3) .wpcf7-list-item-label::before {
  background-image: url(画像パス3);
}
/* チェック後のボタン */
input[type="radio"]:checked + .wpcf7-list-item-label::before {
  filter: drop-shadow(0px 0px 10px rgba(0,0,0,.7));
}チェック後のボタンにはチェックがされたと分かるようにborderなど設定しておきましょう(今回はfilterのdrop-shadowを使いました)
もしチェック後の画像を変えたい場合は、以下のコードを追記すればOKです。
input[type="radio"]:checked + .wpcf7-list-item-label::before {
  background-image: url(画像パス) !important;
}
チェック後は以下の真ん中のように画像が変わります。

ラジオボタン:チェック後の画像変更
以上になります。
この記事が役に立ったと思ったら、シェアボタンからX(旧Twitter)などにシェアすると、いいねされてフォロワーが増えたりすることがあるよ!
